Everything You Need to Know About Dual SIM & eSIM on iPhone
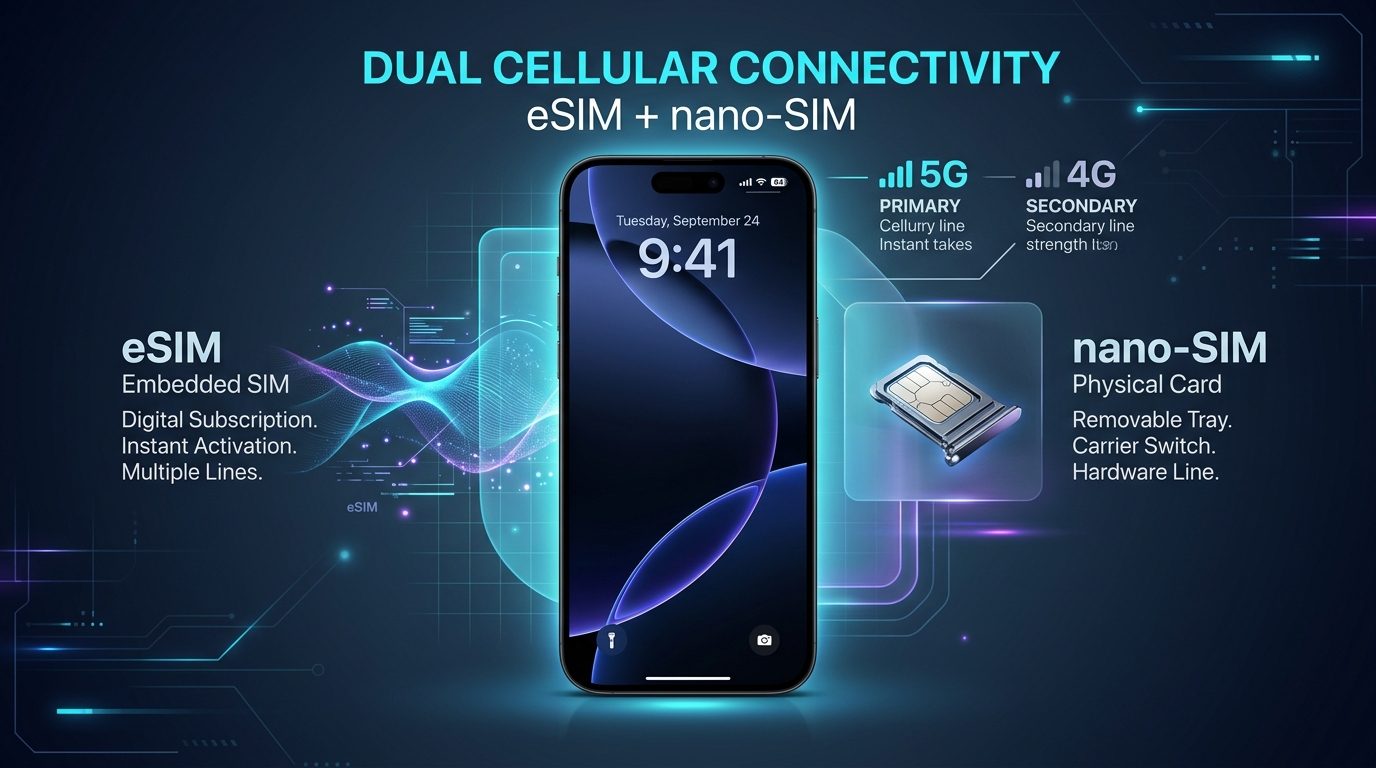
Setting up a Dual SIM iPhone is one of the most effective ways to separate your work and personal communications, eliminate costly international roaming fees, and maintain dual network connectivity on a single device. With modern iOS versions, Apple has completely redefined multi-carrier flexibility by allowing users to run either a combination of a physical nano-SIM and an eSIM, or dual active eSIMs simultaneously.
Why Dual SIM Functionality Matters in 2026
For years, carrying two separate smartphones was the cumbersome standard for professionals and frequent flyers. Today, physical SIM cards are quickly giving way to digital connectivity. As we have seen in how fintech and travel are racing toward eSIM arrays, digital profiles allow instant carrier provisioning without having to swap tiny plastic trays at airport kiosks.
A dual SIM configuration on your iPhone gives you significant daily advantages:
- Dedicated Business & Personal Lines: Keep client calls and family messages organized under distinct phone numbers with custom ringtones and label identifiers.
- Smart Roaming & Data Splitting: Keep your home carrier active for emergency two-factor authentication (2FA) SMS while routing high-speed cellular data through a cheaper local eSIM plan abroad.
- Carrier Redundancy: Maintain connections on two different cellular networks to eliminate dead zones in rural or transit areas.
iPhone Hardware Compatibility: Physical SIM vs. Dual eSIM
Before beginning the setup process, it is important to understand what multi-SIM architecture your iPhone model supports:
- iPhone XS, XR, 11, 12, and 13 series: Support one physical nano-SIM card and one active digital eSIM.
- iPhone 13, 14, 15, 16, and newer (Global models): Support Dual eSIM (two active eSIM profiles at once) in addition to a physical nano-SIM slot.
- US iPhone Models (iPhone 14 and newer): Feature an eSIM-only architecture with no physical SIM tray, supporting two active eSIMs and storing up to eight or more profiles in memory.
- Carrier Lock Requirement: If you plan to use two different network carriers on the same device, your iPhone must be carrier-unlocked.
Step-by-Step: Adding an eSIM to Your iPhone
Adding a digital line alongside your existing physical SIM or primary line takes only a few moments under iOS settings:
- Connect to Stable Wi-Fi: A reliable internet connection is required to download the carrier’s encrypted cryptographic certificate.
- Navigate to Cellular Settings: Open Settings and tap on Cellular (or Mobile Service depending on your region).
- Tap Add eSIM: Select Add eSIM or Set Up Cellular.
- Choose Activation Method: Select Use QR Code if your network provider supplied a printed or digital activation code, or select Transfer From Nearby iPhone if migrating a line from an older device.
- Scan and Confirm: Point your camera at the QR code and follow the on-screen prompts to complete line activation.
Configuring Labels, Default Voice & Data Lines
Once both lines are active, iOS will prompt you to configure how you want your dual plans to behave across daily applications:
- Label Your Plans: Assign clear descriptive names to each line (such as Personal, Business, Primary, or Travel). These labels appear in Phone, FaceTime, and Messages.
- Default Voice Line: Select the default number used when placing calls or sending SMS to contacts not already assigned to a specific line.
- Cellular Data Line: Designate which plan handles your internet traffic. While both lines remain active for incoming phone calls and text messages, only one line can transmit cellular data at any given second.
- Allow Cellular Data Switching: Toggle this option ON if you want iOS to automatically failover data to your secondary line during a call or when your primary provider loses signal. Keep this toggled OFF while traveling abroad to avoid unexpected roaming charges on your primary domestic plan.
Managing Calls, Messages & Two-Factor Authentication
iOS makes switching lines during daily communication effortless:
- Placing Phone Calls: When dialing in the Keypad, tap the colored line button at the top of the screen to switch between your Primary and Secondary numbers before hitting Call.
- Sending iMessage & SMS: When starting a new conversation in Messages, tap your active phone number at the top to toggle which SIM line you wish to send from.
- Securing 2FA Accounts: Because your secondary number might be linked to banking or social accounts, ensure you follow best practices for securing your messaging accounts against unauthorized SIM swap attacks by enabling carrier PIN protections and hardware passkeys.
Troubleshooting Common Dual SIM Issues
If you encounter dropped calls or missing data connections after activating both profiles, apply these quick fixes:
- No Service on eSIM: Open Settings > Cellular, tap your eSIM label, and ensure the Turn On This Line toggle is enabled. If service remains unavailable, toggle Airplane Mode on for 10 seconds.
- iMessage Sending from Wrong Number: Go to Settings > Messages > Send & Receive and verify that the correct phone numbers are checked for new conversations.
- Battery Optimization: Running dual active cellular radios in areas with weak cellular coverage can increase background battery drain. If you are in an area with zero reception on one carrier, temporarily disable that individual line under Cellular settings to conserve battery life.
Final Verdict
Mastering your Dual SIM iPhone setup transforms your device into a versatile multi-line powerhouse. Whether you are compartmentalizing work life from personal downtime or traveling across continents without expensive carrier add-ons, the combination of physical and digital eSIM profiles provides unmatched connectivity freedom.